
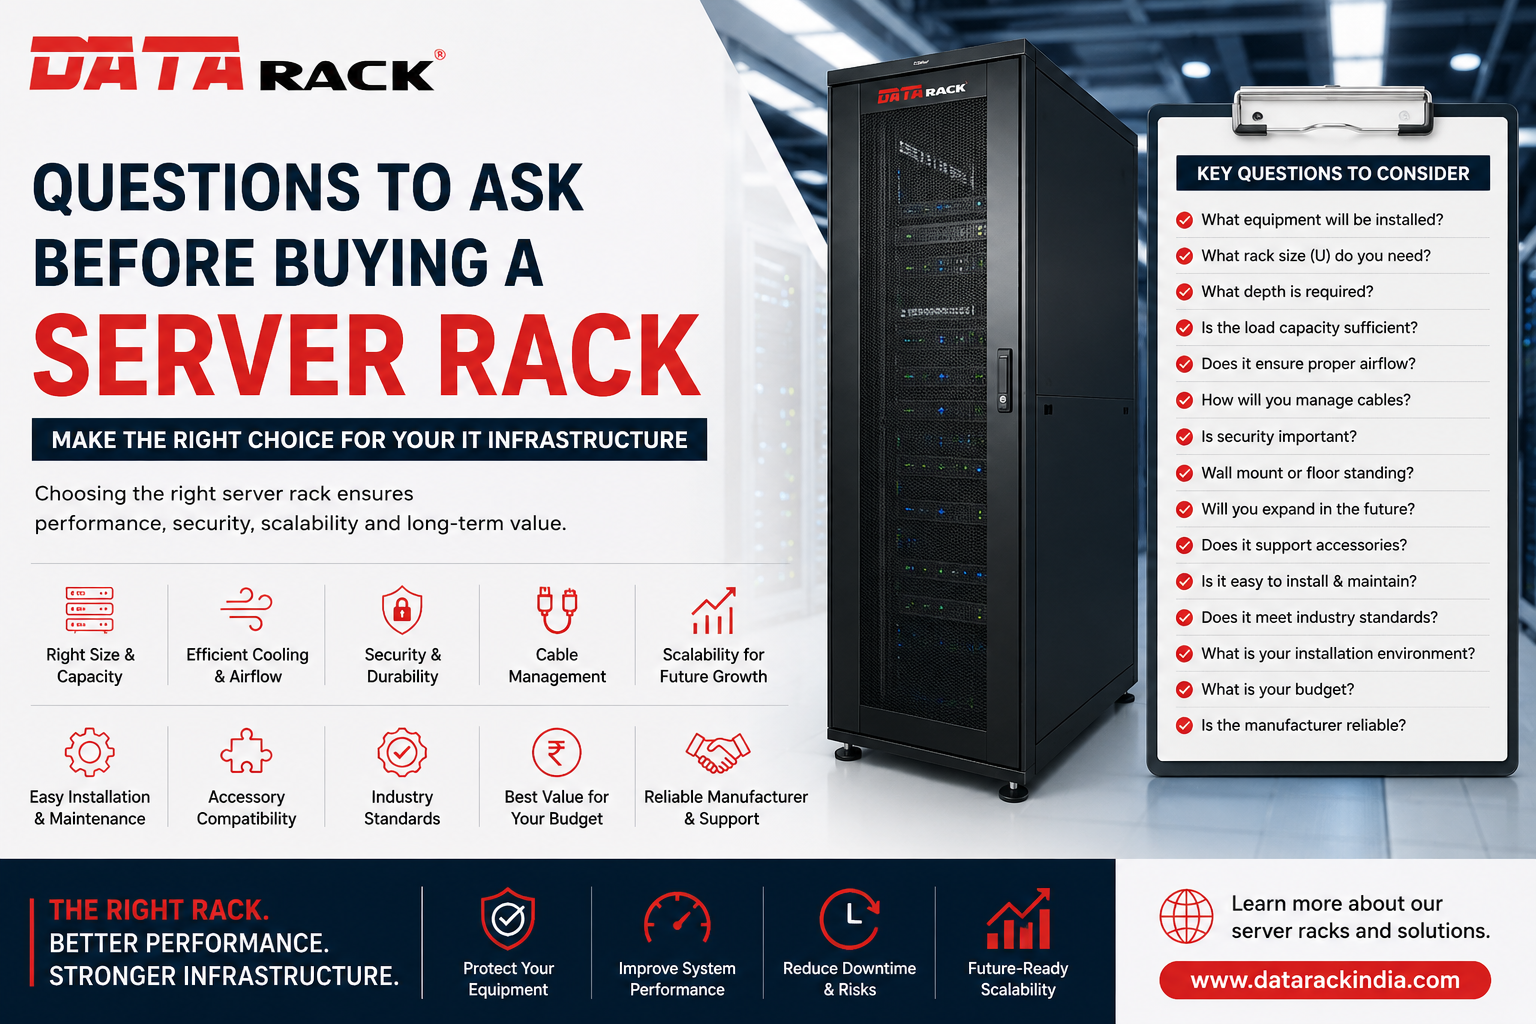
Server Rack Installation Checklist: 15 Things to Verify Before Powering On Your Equipment
Installing a server rack is much more than assembling a cabinet and mounting equipment. A properly installed server rack forms the backbone of a secure, organized, and high-performing IT infrastructure. Whether you’re setting up a new server room, expanding a data center, or upgrading network infrastructure, following a structured installation checklist can help prevent costly downtime, improve equipment lifespan, and simplify future maintenance.
Why a Server Rack Installation Checklist Matters
Skipping critical installation steps can lead to:
- Overheating and poor airflow
- Cable congestion
- Equipment instability
- Power distribution issues
- Increased maintenance costs
- Unexpected downtime
A systematic installation process ensures your server rack is safe, efficient, and ready for long-term operation.
1. Select the Right Rack Size
Before installation, confirm that your rack matches your equipment requirements.
Verify:
- Rack height (U)
- Rack width (600 mm or 800 mm)
- Rack depth
- Future expansion space
Choosing a slightly larger rack provides flexibility for future upgrades.
2. Verify Load Capacity
Every rack has both static and dynamic load ratings.
Calculate the total weight of:
- Servers
- Storage devices
- UPS systems
- Switches
- PDUs
- Accessories
Never exceed the manufacturer’s recommended load capacity.
3. Inspect the Installation Location
Your rack should be installed in a clean, secure, and well-ventilated environment.
Check:
- Floor strength
- Room temperature
- Humidity levels
- Dust protection
- Access for maintenance
Proper site preparation improves reliability and safety.
4. Level and Secure the Rack
An uneven rack can create unnecessary stress on mounted equipment.
Ensure:
- Rack is perfectly level
- Adjustable feet are correctly positioned
- Floor anchoring is completed if required
- Seismic requirements are met where applicable
A stable rack minimizes vibration and enhances safety.
5. Install Proper Grounding and Bonding
Electrical grounding protects equipment from electrical faults and static discharge.
Confirm:
- Grounding kit installation
- Proper bonding connections
- Compliance with electrical standards
Grounding is essential for both equipment safety and personnel protection.
6. Plan Cable Routing Before Installation
Avoid routing cables randomly after equipment is installed.
Plan separate paths for:
- Power cables
- Network cables
- Fiber optic cables
Using dedicated cable pathways reduces clutter and improves airflow.
7. Install Power Distribution Units (PDUs)
PDUs should be installed before mounting most equipment.
Verify:
- Vertical or horizontal mounting
- Power capacity
- Socket configuration
- Redundant power availability
Proper power distribution reduces the risk of overloads.
8. Mount Equipment from Bottom to Top
Always install heavier equipment first.
Recommended order:
- UPS
- Storage systems
- Servers
- Network switches
- Patch panels
This improves rack stability and weight distribution.
9. Ensure Proper Airflow
Heat is one of the leading causes of hardware failure.
Check:
- Perforated front and rear doors
- Fan trays (if required)
- Clear airflow pathways
- Hot aisle/cold aisle alignment
- Adequate spacing between equipment
Efficient airflow helps maintain optimal operating temperatures.
10. Install Blanking Panels
Unused rack spaces allow hot air to recirculate.
Install blanking panels to:
- Improve cooling efficiency
- Prevent hot spots
- Reduce cooling costs
- Maintain consistent airflow
This simple step can significantly enhance thermal performance.
11. Organize and Label All Cables
Professional cable management simplifies troubleshooting and maintenance.
Best practices include:
- Color-coded cables
- Cable labels
- Vertical cable managers
- Horizontal cable organizers
- Velcro straps instead of plastic ties
A tidy rack is easier to maintain and less prone to accidental disconnections.
12. Check Door Clearance and Accessibility
Before powering on, ensure technicians can easily access equipment.
Verify:
- Front and rear door clearance
- Side panel accessibility
- Smooth door operation
- Adequate maintenance space
Easy access reduces service time during maintenance.
13. Test Power and Network Connectivity
Before connecting production equipment:
Check:
- Voltage
- UPS functionality
- PDU operation
- Network connectivity
- Internet availability
- Switch configuration
Resolving issues early prevents deployment delays.
14. Install Environmental Monitoring
Modern server rooms benefit from continuous monitoring.
Consider installing sensors for:
- Temperature
- Humidity
- Smoke detection
- Water leakage
- Door access
Real-time monitoring helps prevent failures before they occur.
15. Perform a Final Inspection Before Powering On
Complete one final walkthrough.
Confirm:
- All equipment is securely mounted
- Cables are neatly routed
- Airflow is unobstructed
- PDUs are connected correctly
- Grounding is complete
- Labels are visible
- Accessories are securely installed
A final inspection minimizes the risk of unexpected issues after startup.
Common Server Rack Installation Mistakes
Avoid these frequent errors:
- Choosing the wrong rack dimensions
- Overloading the rack
- Ignoring airflow requirements
- Poor cable management
- Skipping grounding
- Blocking ventilation
- Leaving no room for expansion
- Using low-quality accessories
Preventing these mistakes improves reliability and extends equipment life.
Benefits of Following a Server Rack Installation Checklist
A properly installed server rack provides:
- Improved equipment performance
- Better cooling efficiency
- Simplified maintenance
- Reduced downtime
- Enhanced physical security
- Better cable organization
- Easier scalability
- Longer hardware lifespan
- Lower operational costs
Investing time in correct installation pays dividends throughout the life of your IT infrastructure.
Conclusion
A server rack is more than a cabinet—it is the foundation of a reliable IT environment. Following a comprehensive installation checklist ensures your infrastructure is safe, organized, and ready to support business-critical operations.
At Data Rack Technologies, we design and manufacture high-quality Server Racks, Network Racks, Wall Mount Racks, Open Frame Racks, Intelligent PDUs, Cable Management Solutions, and Data Center Accessories that help businesses build secure and scalable IT infrastructure.
Whether you’re deploying a small server room or a large enterprise data center, the right rack combined with proper installation practices can significantly improve uptime, efficiency, and long-term performance.
Need help selecting or installing the right server rack? Contact Data Rack Technologies today to build a reliable, future-ready infrastructure.
Frequently Asked Questions (FAQs)
1. What should I check before installing a server rack?
Verify the rack size, load capacity, installation location, grounding, airflow, cable routing, power distribution, and future expansion requirements.
2. Why is grounding important for server racks?
Grounding protects IT equipment from electrical surges, reduces static discharge, and enhances overall safety.
3. What is the recommended order for mounting equipment?
Install heavier equipment like UPS systems and storage devices at the bottom, followed by servers, switches, and patch panels.
4. Why are blanking panels important?
Blanking panels prevent hot air recirculation, improve airflow, and increase cooling efficiency.
5. How often should a server rack be inspected?
A visual inspection should be performed monthly, with a comprehensive maintenance check every 6–12 months.
Pingback: Hot Spots in Server Racks - Data Rack Knowledge Center